Importing Users
User lists may be imported into Apporto to accomplish the following:
- Create new user accounts
- Update or replace user attributes (e.g. group and role assignments)
- Deprovision users
Import files must be in a comma separated values (CSV) format. Files may be imported manually via the Users screen or automatically by placing the file on an SFTP site. Contact [email protected] if you would like to setup automated import.
Note: Import is typically used to create new user accounts when you have a small number of users (a few hundred). If you have a large number of users, the most common way to add users to Apporto is via a single sign-on (SSO) or Learning Management System (LMS) integration. With an SSO or LMS integration, user accounts are created in Apporto automatically when users login and launch Apporto. Contact [email protected] if you would like to set up an integration.
Import Users
Prerequisite Step: Prepare a CSV file
Prepare a comma-separated values (CSV) file containing data for the users you wish to add.
-
At a minimum, an email address is required for each user. A unique identifier (ID) is also required if you have an SSO-integration.
-
Additionally, you may include full name, role, group(s) and password if desired.
-
If you provide full name, both first and last name should be included in a single column in the spreadsheet.
-
If you provide role, acceptable values include Admin, Sub-Admin, and Tech Support.
-
If you provide groups in the CSV, the group must first be created in Apporto before it can be imported. See Creating and Managing Groups for more information.
-
If you provide multiple groups for a particular user, all groups must be included in a single column with commas between each value. There should be no spaces between values (eg. Group1,Group2,Group3). Multi-word group names are accepted (eg. Math 101,Computer Science,Java Group).
Here is an example of the CSV format:

Import CSV file
Using your preferred web browser, navigate to the URL for your Apporto system, for example, “mycollege.www.apporto.com”, and log in to the system using your Admin credentials.
Click the Users ![]() icon in the navigation panel.
icon in the navigation panel.
The ‘Users’ screen displays.
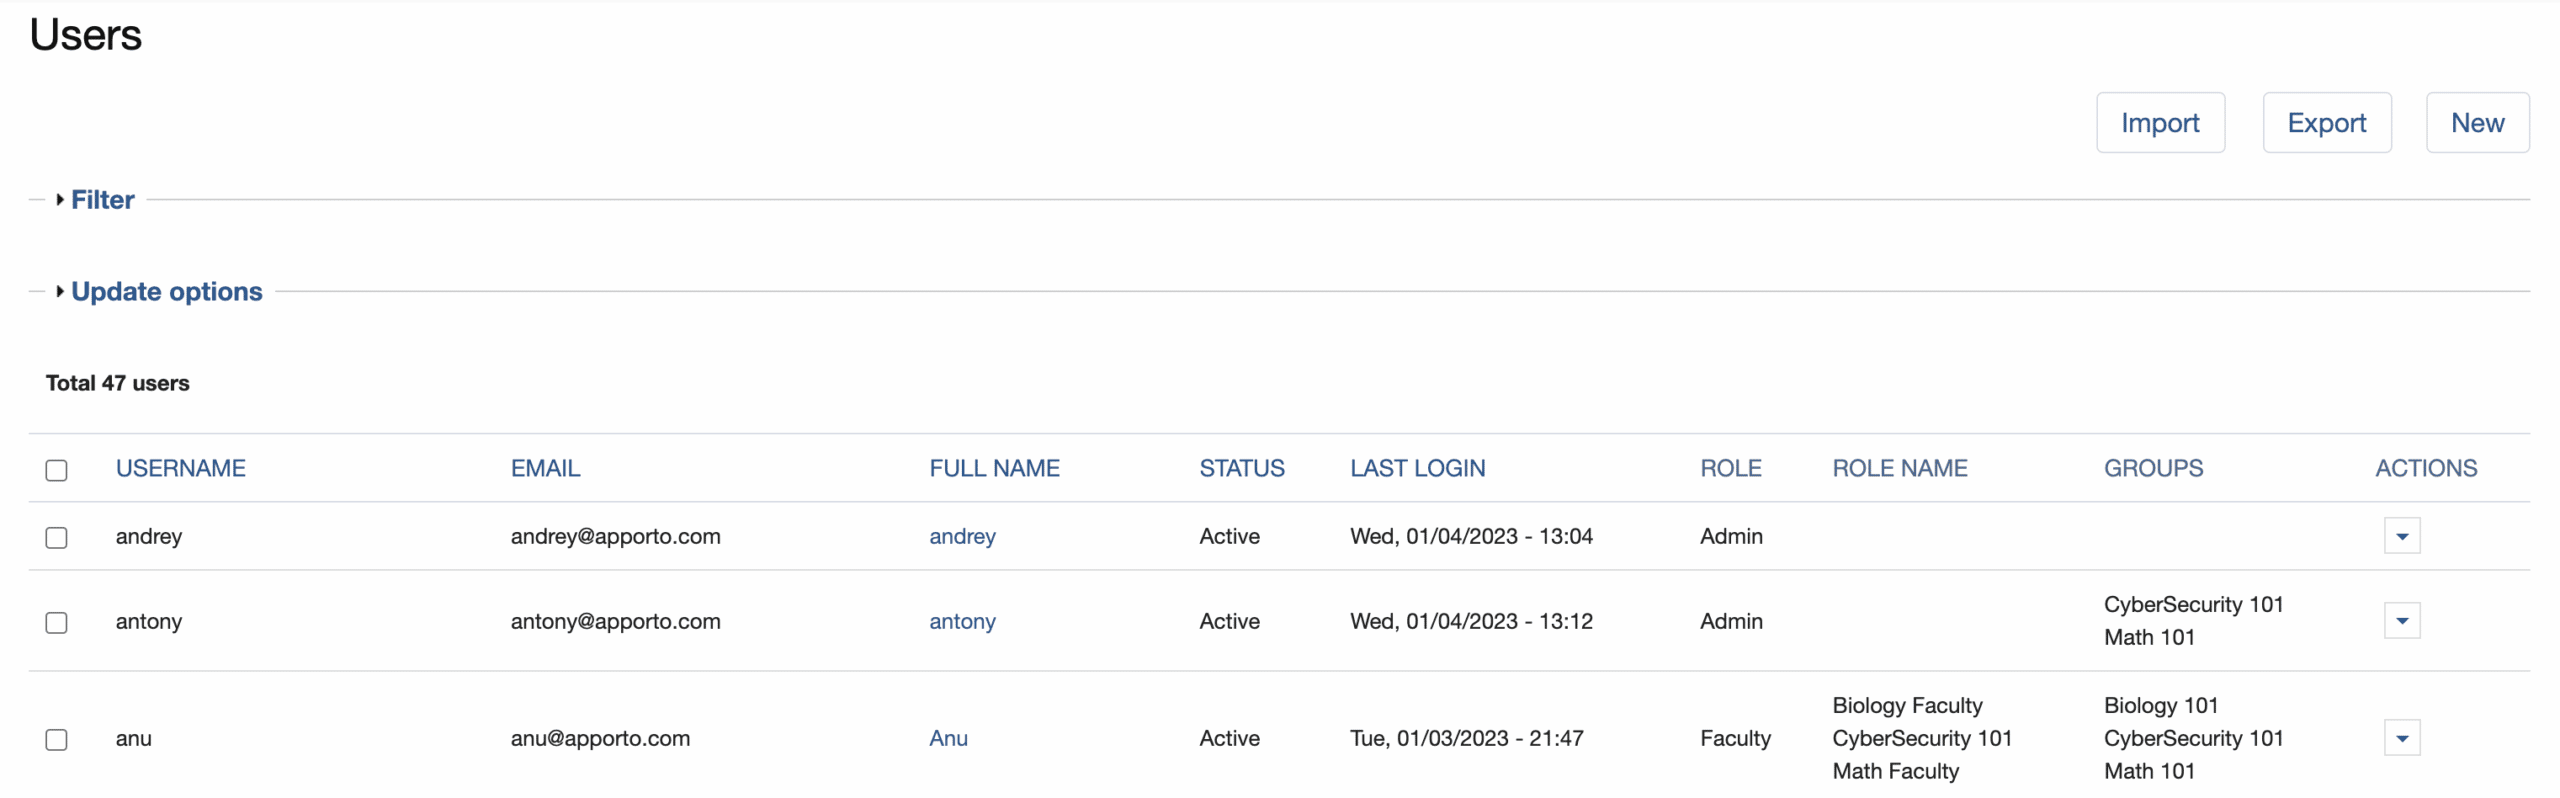
Click the Import button.
The ‘Users import’ screen displays.
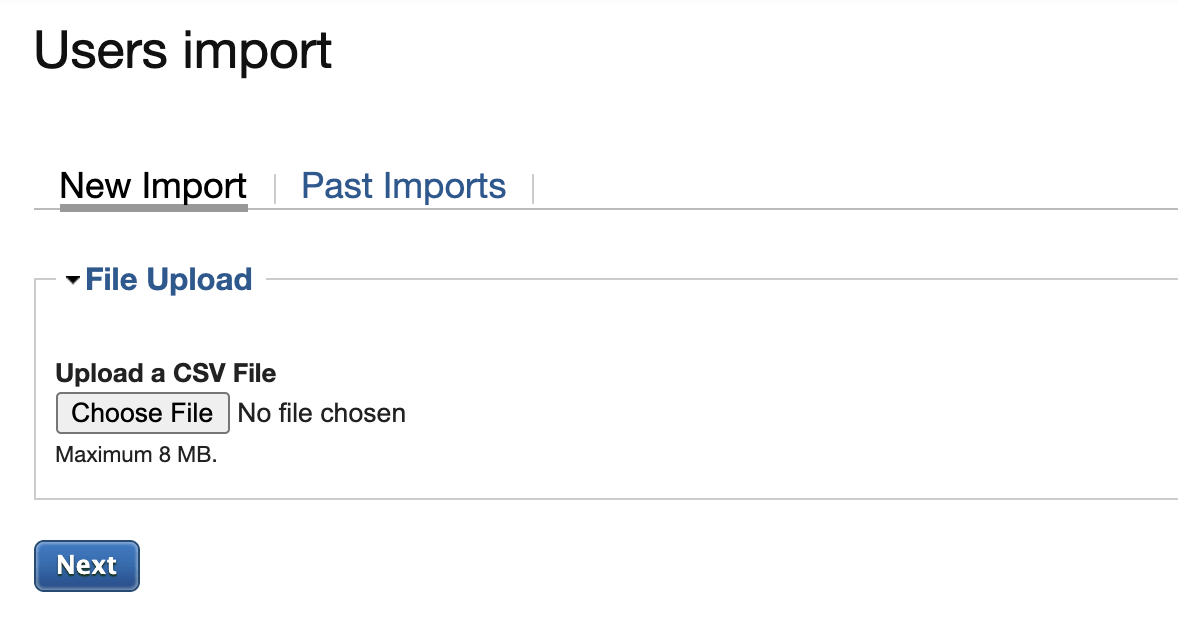
Click Choose File
The file explorer on your device displays.
Locate and select the desired file, then click Open
The file upload dialog closes automatically, and the name of the selected file is shown next to the Choose File button.
Click Next
The screen refreshes to display the import options.
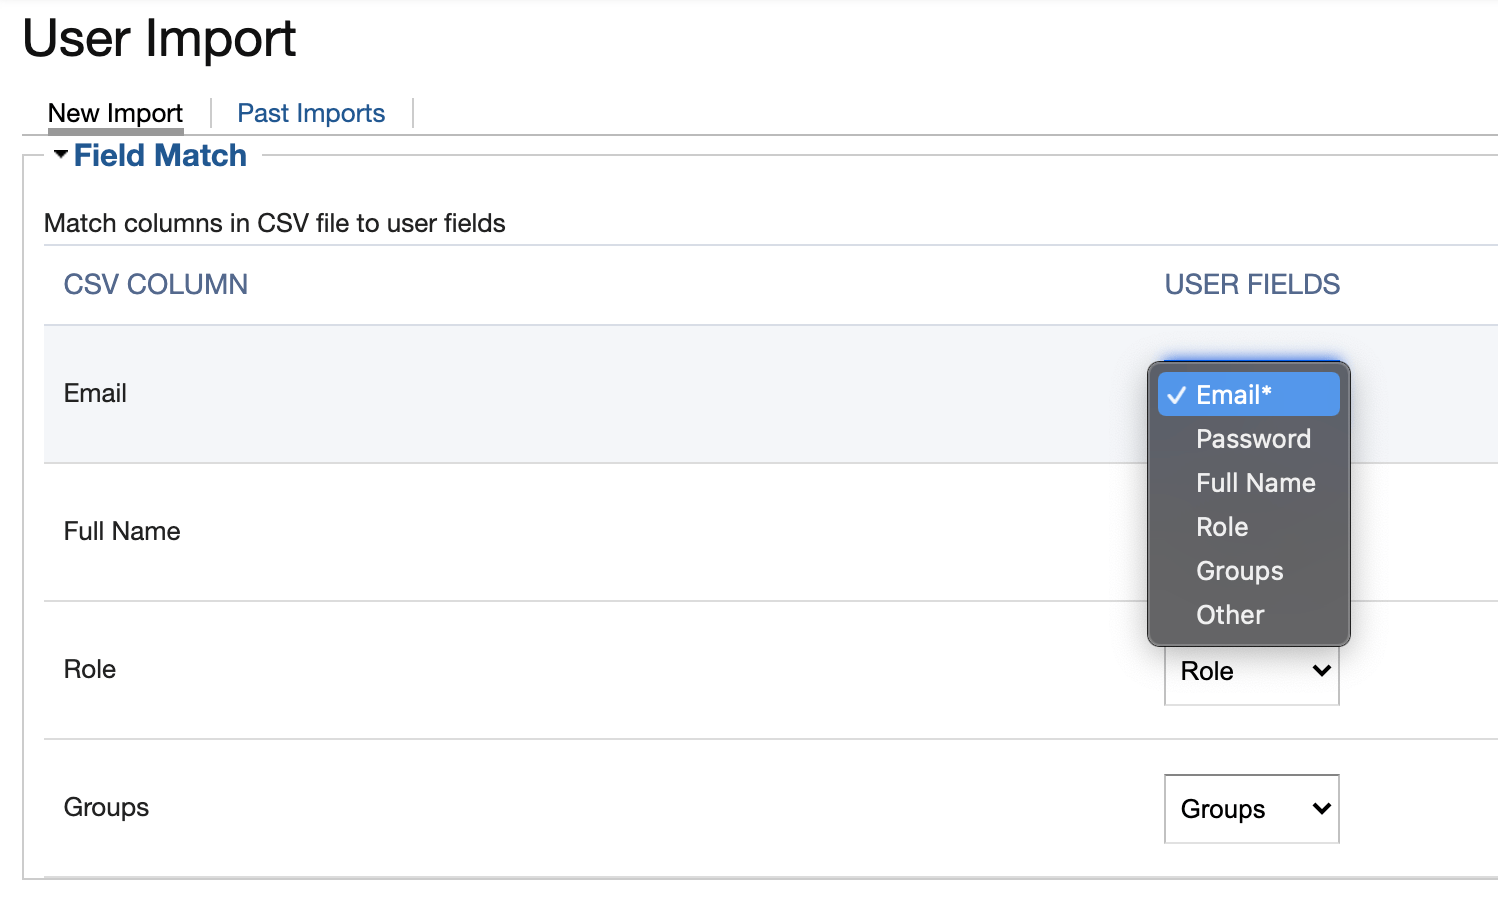
Select Import Options
Use the Field Match options to match each COLUMN in the CSV file to the appropriate value from Apporto’s USER FIELDS menu (ex. email address, full name, role, etc.). To ignore a column, select ‘Other’.
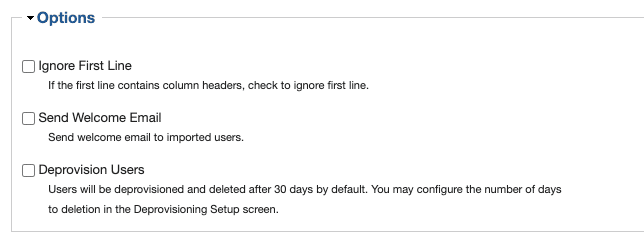
Next, select the relevant Options:
-
If the first line of the CSV file is a header record, select the Ignore First Line check box.
-
If Single Sign-on is enabled for your Apporto instance, check Sync with SSO to ensure imported users are synchronized with SSO users (and prevent two accounts from being created for the same user).
-
If you want to send a welcome email (containing a one-time login link), select the Send Welcome Email checkbox.
-
If you wish to deprovision imported users, check Deprovision Users. The imported users will have an account status of deprovisioned and will be deleted after a configurable number of days (30 days by default).
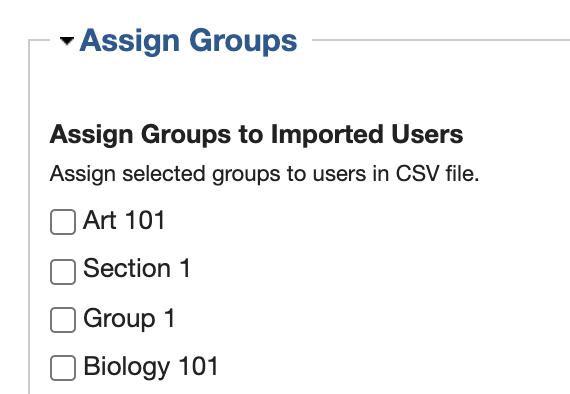
Select group(s) using the Assign Groups checkboxes to add imported users to the group(s). The selected group(s) will be assigned to all users in the imported CSV.
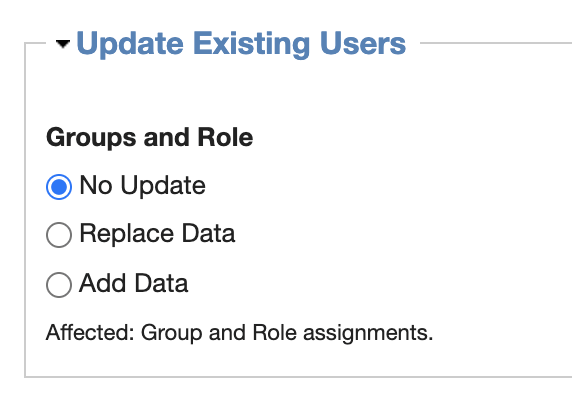
If the CSV contains new attributes for existing users, use the Update Existing Users radio buttons to select the desired action:
-
No Update – is the default option.
-
Replace Data – will remove any current group or role assignments and replace them with those specified in the CSV. Apporto Admin roles are not overridden.
-
Add Data – will keep current groups and add any new group assignments specified in the CSV. Since users may only have one role, roles specified in the CSV are only added if the user does not have an existing role.
When all desired options have been configured, click Import
A confirmation message shows at the top of the screen when the import is completed.