Creating a Web App
In most cases, Apporto will create apps and desktops on your behalf, and you just need to publish them to make them accessible to users in the App Store. Should you want to create an app or desktop though, you may do so in the Apps screen.
Create a Web App
Web apps are applications that run in the browser by design. Apporto simply provides a link for users to launch these applications from the App Store.
Basic App Setup
Using your preferred web browser, navigate to the URL for your Apporto system, for example, “mycompany.www.apporto.com”, and log in to the system using your credentials.
Click the Apps ![]() icon in the Navigation panel.
icon in the Navigation panel.
The ‘Apps’ screen displays.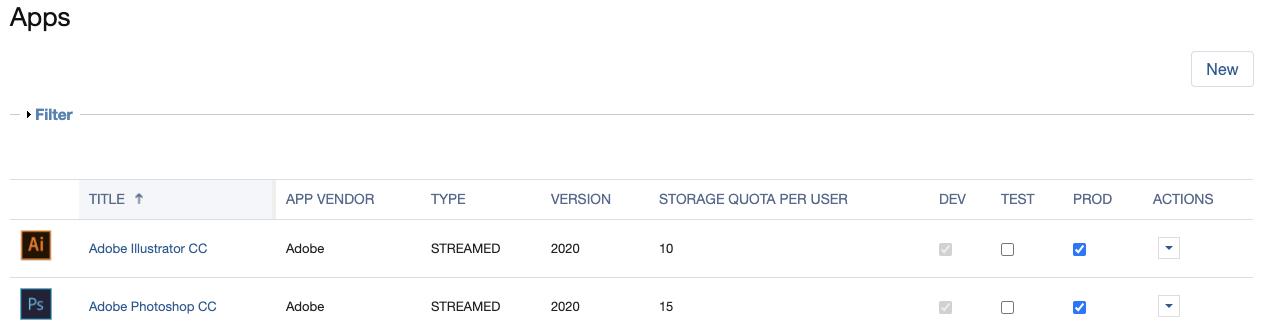
The Apps screen lists all apps currently configured for your Apporto instance.
Click New
The ‘Select the Type of App’ dialog displays.
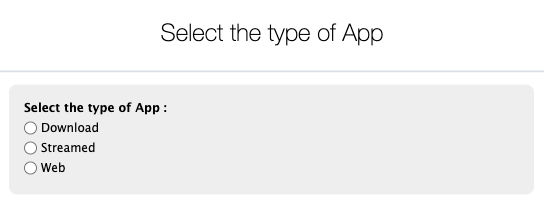
Select the Web radio button.
The ‘Create App – Web’ screen displays.
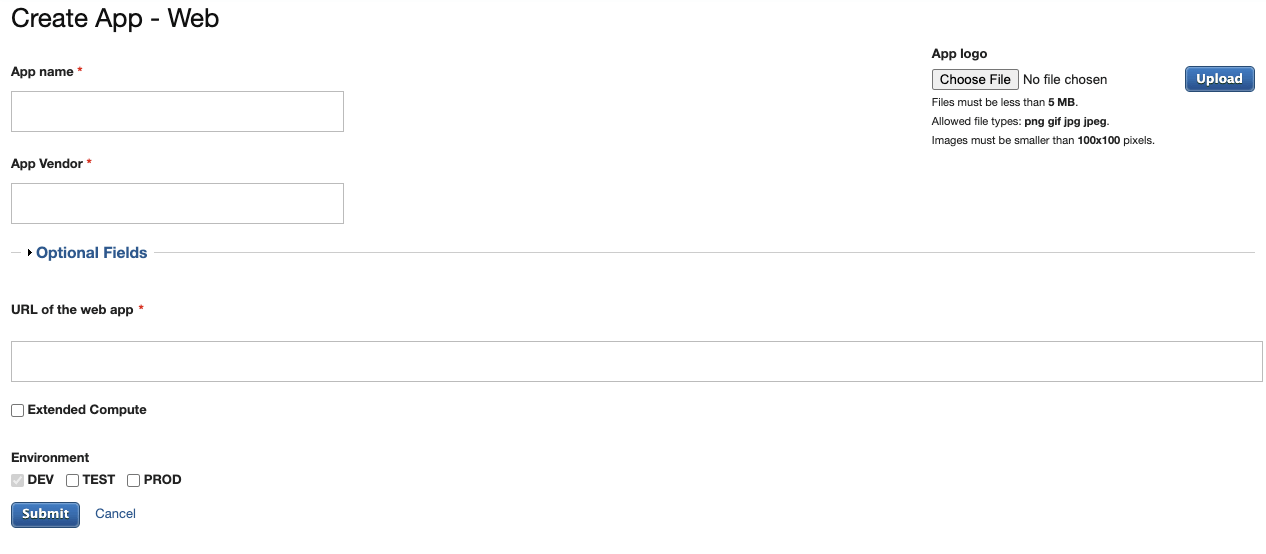
Mandatory fields are identified by a red asterisk (*).
Enter the appropriate values for the app:
Enter the name of the app in the App name text box.
Enter the name of the app vendor in the App Vendor text box.
If desired, Upload a logo for the app. We recommend uploading a logo so it is easy for users to recognize apps in the App Store.
Logo files must be < 5 MB. Allowed file types include png, gif, jpg, or jpeg.
Images must be smaller than 100×100 pixels. Images larger than 100×100 pixels are automatically scaled.
Click the Optional Fields link to show an expanded list of optional fields.
You may optionally enter the App version in the text box.
If desired, enter relevant Tags, a brief Description of the app, any special Instructions, and/or a Link to vendor website.
While storage quotas are typically assigned to Groups, you may optionally define a Storage quota per user (in Gigabytes; 30 maximum) for the application.
Lastly, you may set a Term usage limit (in hours) if you want to limit the number of hours a user can use the app during the semester. The semester start and end dates are defined in the Academic Calendar in Settings.
Use the Environment checkboxes to specify the environments to which you wish to publish the app (eg. DEV, TEST and/or PROD). You must select PROD in order to publish the app to users in your production environment. The DEV checkbox is enabled by default, and cannot be deselected.
Submit App for Creation
When all necessary information has been entered, click Submit to create the app.
The ‘App Detail’ screen displays.
The app can now be published to the desired target groups or users.