Configuring Network Objects
Apporto cloud desktops offer a high level of security, because they run in a browser and the environment is isolated from the user’s physical device. Additionally, Publishing ensures only users who need access to an app or desktop will have access. To go a step further, we have introduced a feature called Network Objects.
Apporto Admins may define a list of Network Objects (IP’s and IP ranges) and grant access to particular groups of users. This “white list” approach enables you to control access to parts of your network, a key step in Zero Trust Access (ZTA) initiatives.
This feature is available with the Apporto Zero Trust Desktop. Contact [email protected] to learn more about this offering.
Create Network Objects
Using your preferred web browser, navigate to the URL for your Apporto system, for example, “mycollege.www.apporto.com”, and log in to the system using your Admin credentials.
Click the Setup ![]() icon in the Navigation panel.
icon in the Navigation panel.
The ‘Setup’ submenu displays.
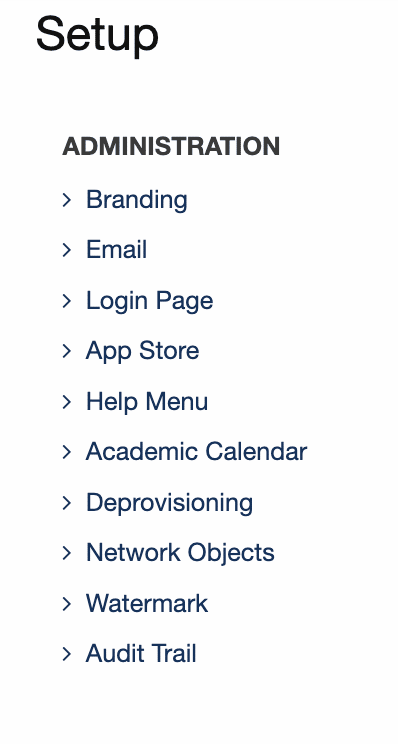
Click Network Objects
The ‘Network Objects Setup’ page displays.
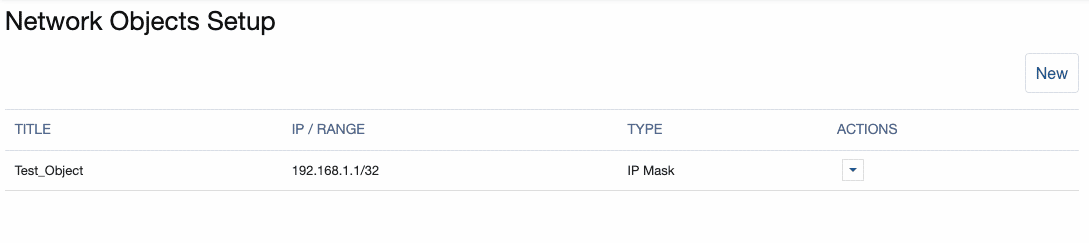
The table provides basic information about the object including a user defined TITLE (name), IP / RANGE (subnet), and TYPE. Currently, the only type supported is IP Mask.
Click New to add a new object.
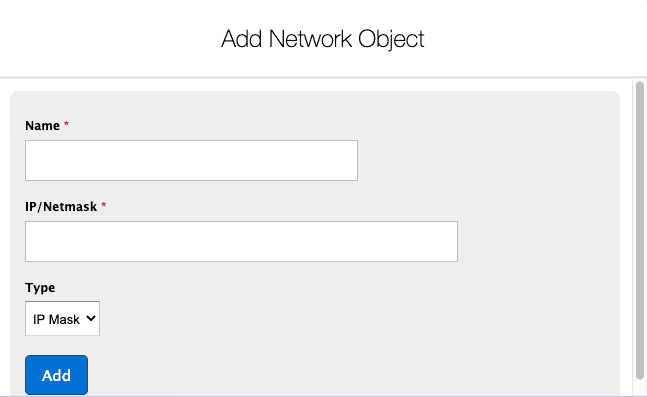
Enter a Name for the network object.
Enter an IP / Subnet
- To enter a single IP, use a format like 192.0.2.1
- To enter a subnet, use a format like 192.0.2.1/25
Select the Type. Currently, IP Mask is the only supported type.
Click Add to save changes.
To add additional network objects, repeat the steps above. Saved network objects will appear as a checklist when you create or edit Groups .
To edit or delete a network object, select Edit or Delete from the ACTIONS menu.
Configure Group Access to Network Objects
Click the Groups ![]() icon in the Navigation panel.
icon in the Navigation panel.
The ‘Groups’ screen displays.
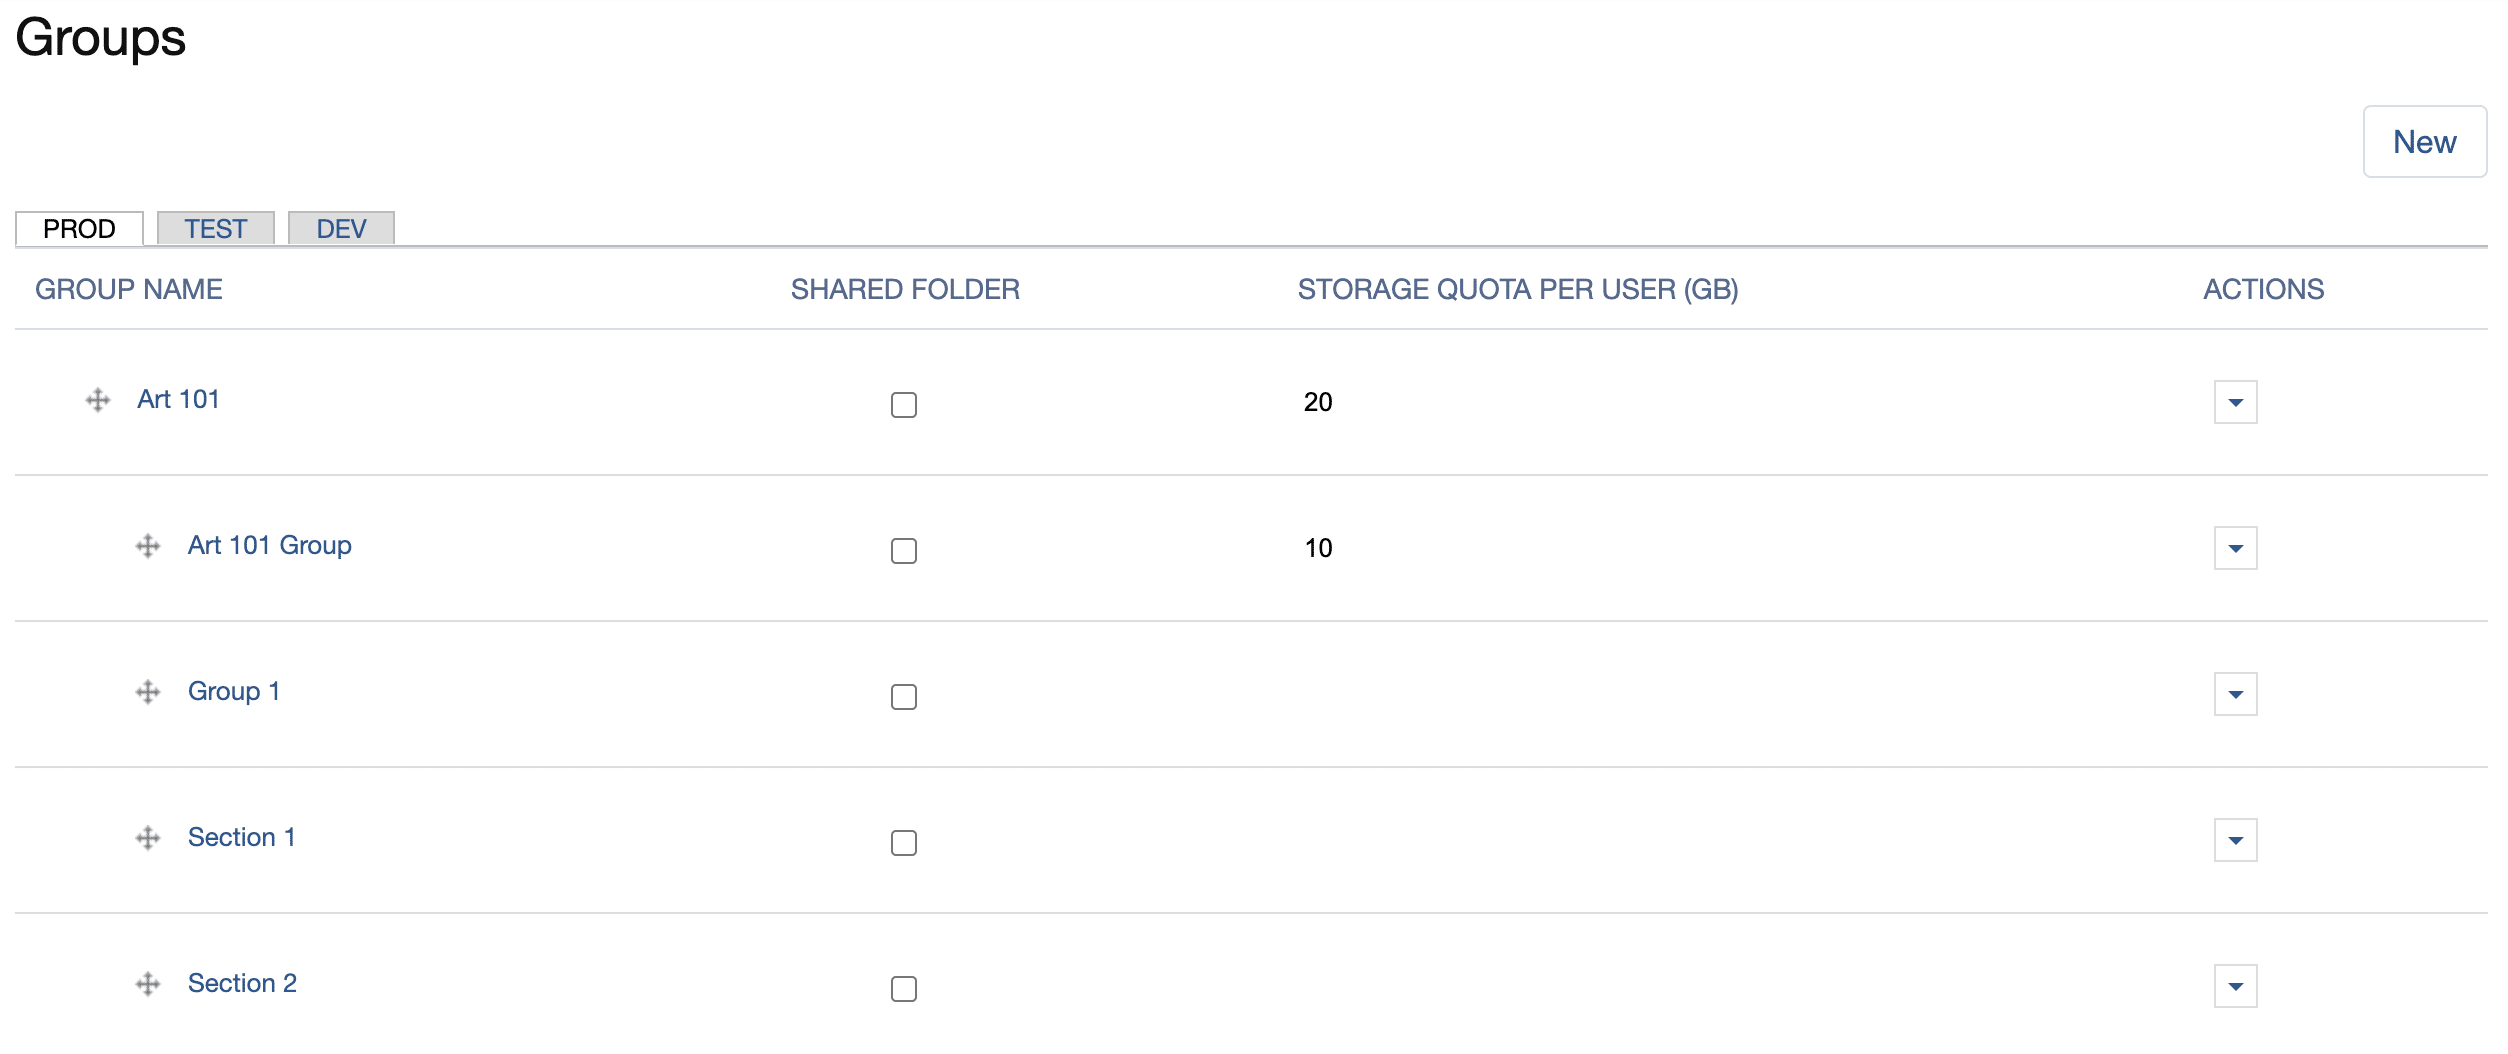
Locate the relevant group and click the associated ACTIONS down arrow.
Click Edit
Scroll down to Network Objects Access
Check the boxes next to the relevant Network Objects to grant access.
To test the results, impersonate a user in the group, launch the desktop, and navigate to your network. Only permitted IP’s and IP ranges will be accessible.
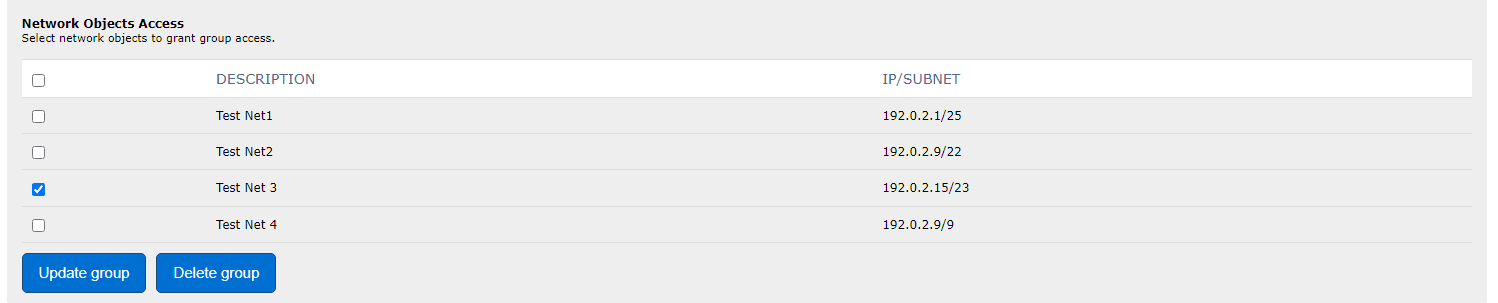
Click Update group to save your changes.
When users in the particular group launch an app or desktop, they will only be able to access the selected IPs and IP ranges.