Configuring a watermark
To discourage users from capturing screenshots of sensitive data, you may wish to configure an optional watermark. If enabled, the watermark displays over the user’s cloud desktop.
This feature is available with the Apporto Zero Trust Desktop. Contact [email protected] to learn more.

The table below shows the values that make up the watermark configuration.
| Field | Datatype | Required? | Notes |
|---|---|---|---|
| Watermark style | Lookup value | Yes |
|
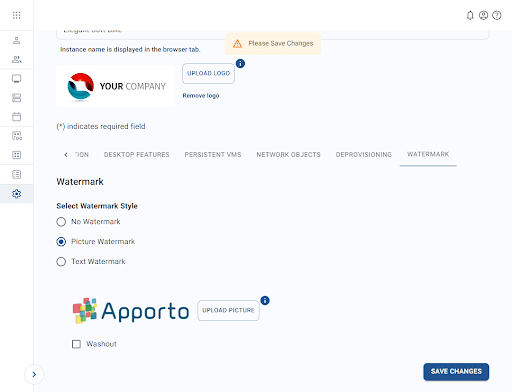
| Picture watermark image file | File upload | Yes | This setting is visible if the watermark style is picture.
Accepted formats include JPG/JPEG, PNG, and GIF. A ratio of 5:2 is recommended (e.g., 250 x 100 pixels). Otherwise, your image will automatically be cropped or resized. |
| Image washout | Boolean | No | This setting is visible if the watermark style is picture.
If this setting is selected, the image will appear with reduced contrast and muted colors. |
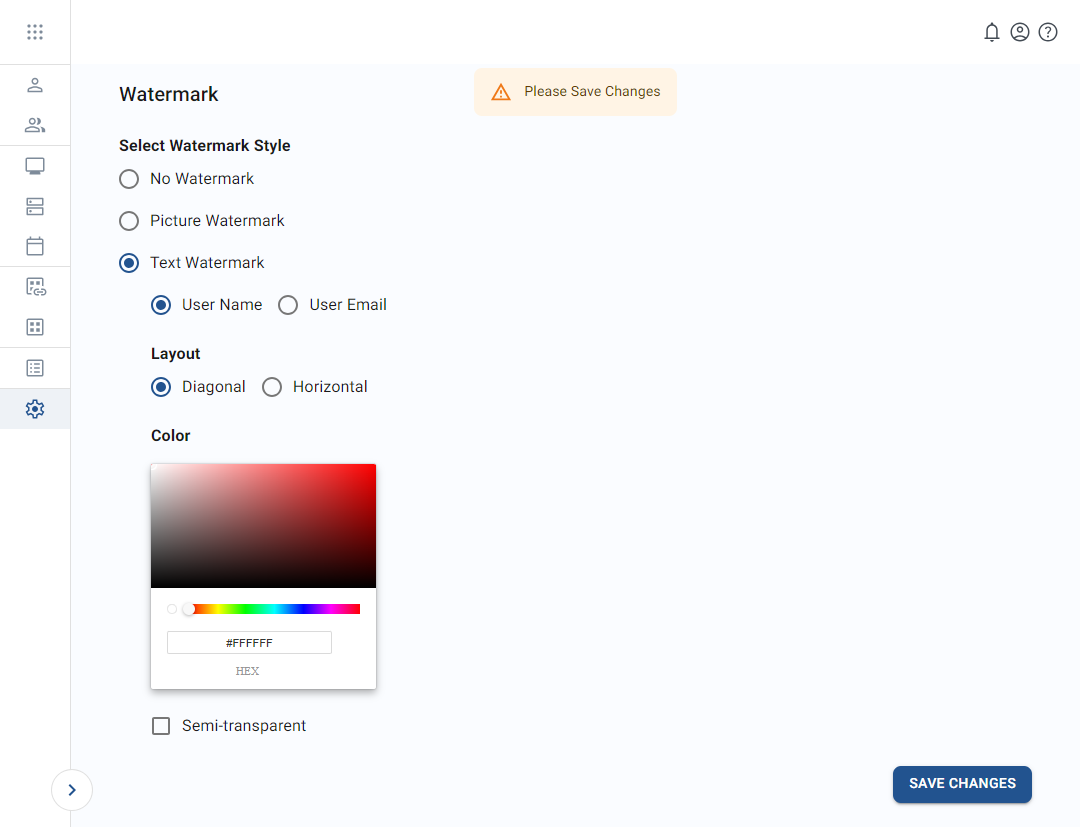
| Text watermark attribute | Lookup value | Conditional | This setting is visible if the watermark style is text.
|
| Text watermark layout | Lookup value | Conditional | This setting is visible if the watermark style is text.
|
| Text watermark color | String | Yes | This setting is visible if the watermark style is text.
Users may enter the hexadecimal color or select it from the gradient chart. |
| Color semi-transparent | Boolean | No | This setting is visible if the watermark style is text.
If this setting is selected, the text will appear partially transparent. |
To add a watermark, follow the steps below:
- Click setup or the
 icon in the navigation panel to view the Setup screen.
 - From the “instance configuration” tab, check the “enable watermark configuration” checkbox.
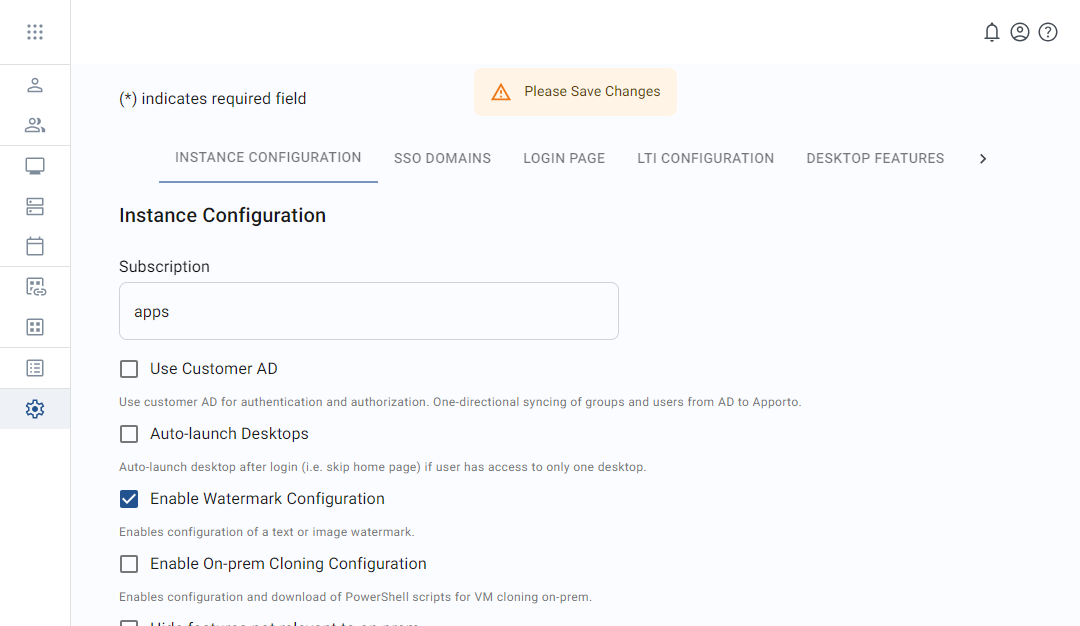
- Click save changes to apply the change. The system will display a confirmation message.
- The system will now contain a new “watermark” tab. Scroll right to find the tab and click on it.
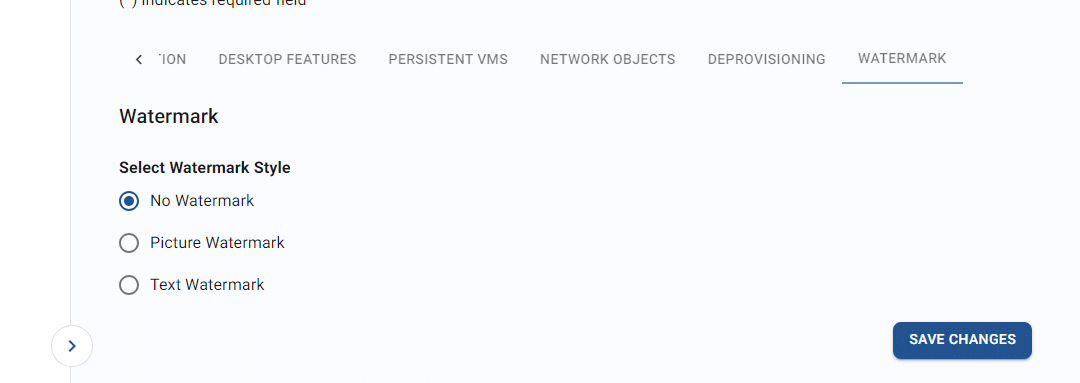
- Select a watermark style and enter the necessary values.
- Picture watermark – set a preferred image
- Text watermark – using a selected system value as the watermark
- Picture watermark – set a preferred image
- Click save changes to apply your watermark configuration. The system will display a confirmation message once the update is complete.
- To test your watermark, click my desktops or the
 icon in the navigation panel and launch a desktop application.
![]() The watermark can be applied to all users or just for specific groups or individuals. Please see Configuring Desktop Features for instructions.
The watermark can be applied to all users or just for specific groups or individuals. Please see Configuring Desktop Features for instructions.