Defining Role Permissions
Apporto has five Roles: Admin, Sub-admin, Faculty, Tech Support, and End User.
- Admins have permissions to all screens, groups of users, and apps/desktops.
- Sub-admins, Faculty, and Tech Support have a limited set of permissions that can be customized.
- End users only have permissions to the App Store and apps/desktops that have been published to them.
Defining permissions for Sub-admins, Faculty, and Tech Support is accomplished by creating a Role Name.
This short guide provides:
Roles Features Matrix
Roles Features (screens) Matrix
Roles determine which screens a user may access in Apporto.
| Admin | Sub-admin | Faculty | Tech Support | End User | |
|---|---|---|---|---|---|
| App Store | X | X | X | X | X |
| Apps | X | X | |||
| App Publishing | X | X | Optional | ||
| Users | X | X | Optional | X | |
| Groups | X | X | |||
| Feature Settings | X | X | Optional | ||
| Roles | X | X | |||
| Sessions | X | X | X | ||
| Servers & Virtual Machines | X | X | Optional | ||
| Announcements | X | X | Optional | Optional | |
| Licenses | X | X | |||
| Calendar | X | X | X | ||
| Analytics | X | X | X | ||
| Exended Compute | X | X | Optional | ||
| Setup | X | ||||
| Virtual Classroom | X | ||||
| Presenter Mode | X |
![]() Roles Names determine which optional features can be accessed in Apporto – as well as permissions to groups and apps/desktops.
Roles Names determine which optional features can be accessed in Apporto – as well as permissions to groups and apps/desktops.
![]() Permission to a group of users enables you to edit or impersonate users in the group.
Permission to a group of users enables you to edit or impersonate users in the group.
![]() Apporto Admins and Sub-admins must have Windows administrative permissions to install software and configure servers. Contact [email protected] to enable this.
Apporto Admins and Sub-admins must have Windows administrative permissions to install software and configure servers. Contact [email protected] to enable this.
Define Role Permissions
Define Role Permissions
Using your preferred web browser, navigate to the URL for your Apporto system, for example, “mycollege.apporto.com”, and log in to the system using your Admin credentials.
Click the Roles ![]() icon in the Navigation panel.
icon in the Navigation panel.
The ‘Roles’ screen displays.
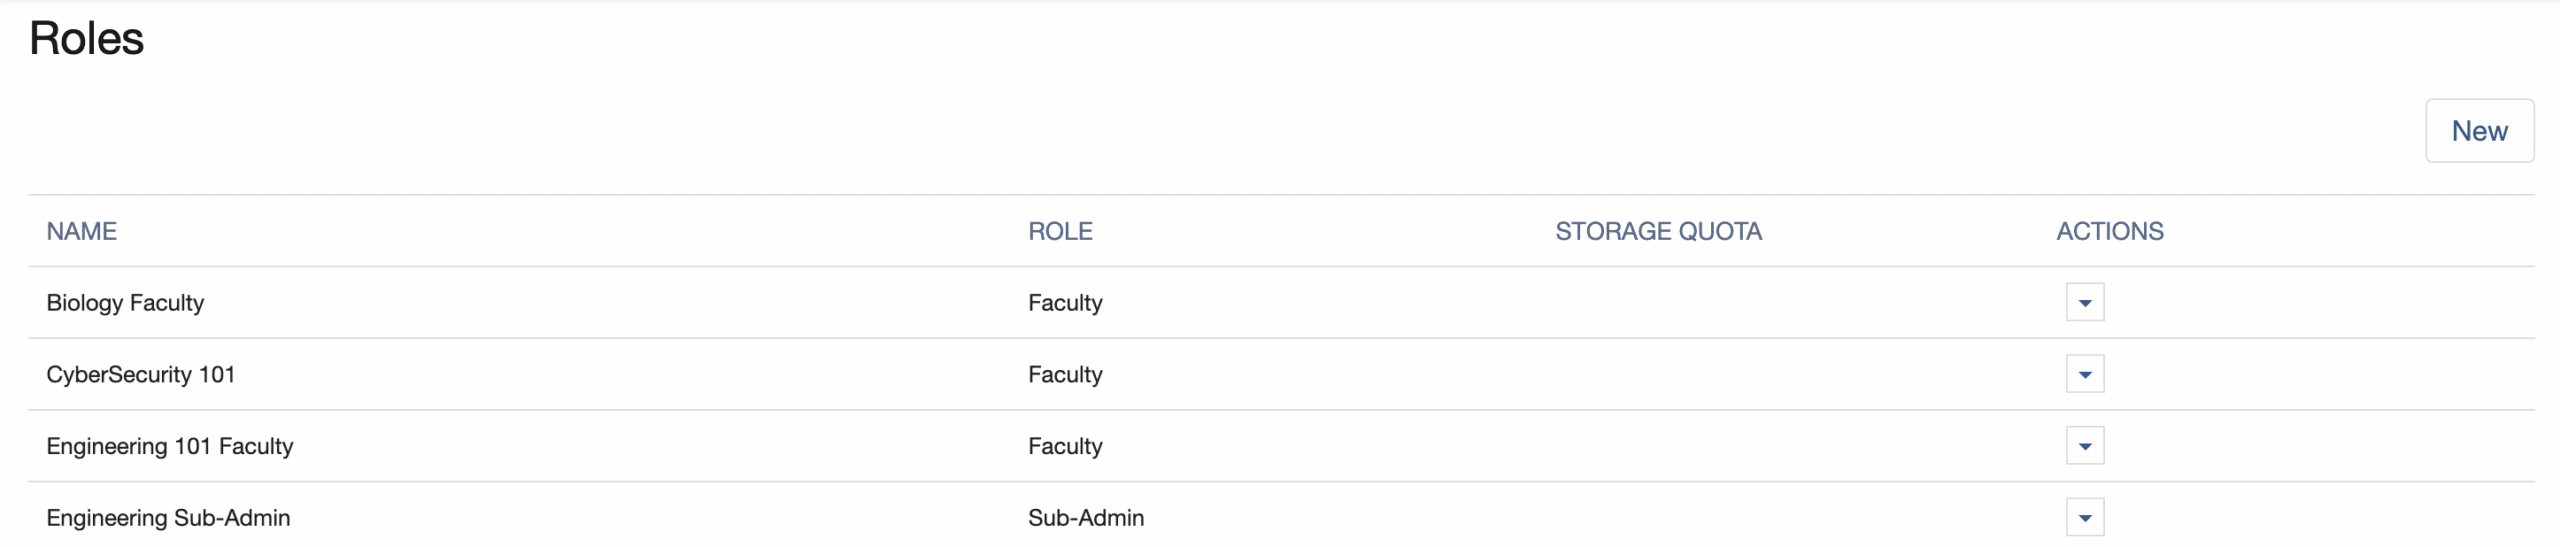
The screen shows a list of existing roles.
![]() Only Sub-admin, Faculty, and Tech Support roles can be customized. Admin and End user roles are not customizable.
Only Sub-admin, Faculty, and Tech Support roles can be customized. Admin and End user roles are not customizable.
Click New
The ‘Add Role’ dialog displays.
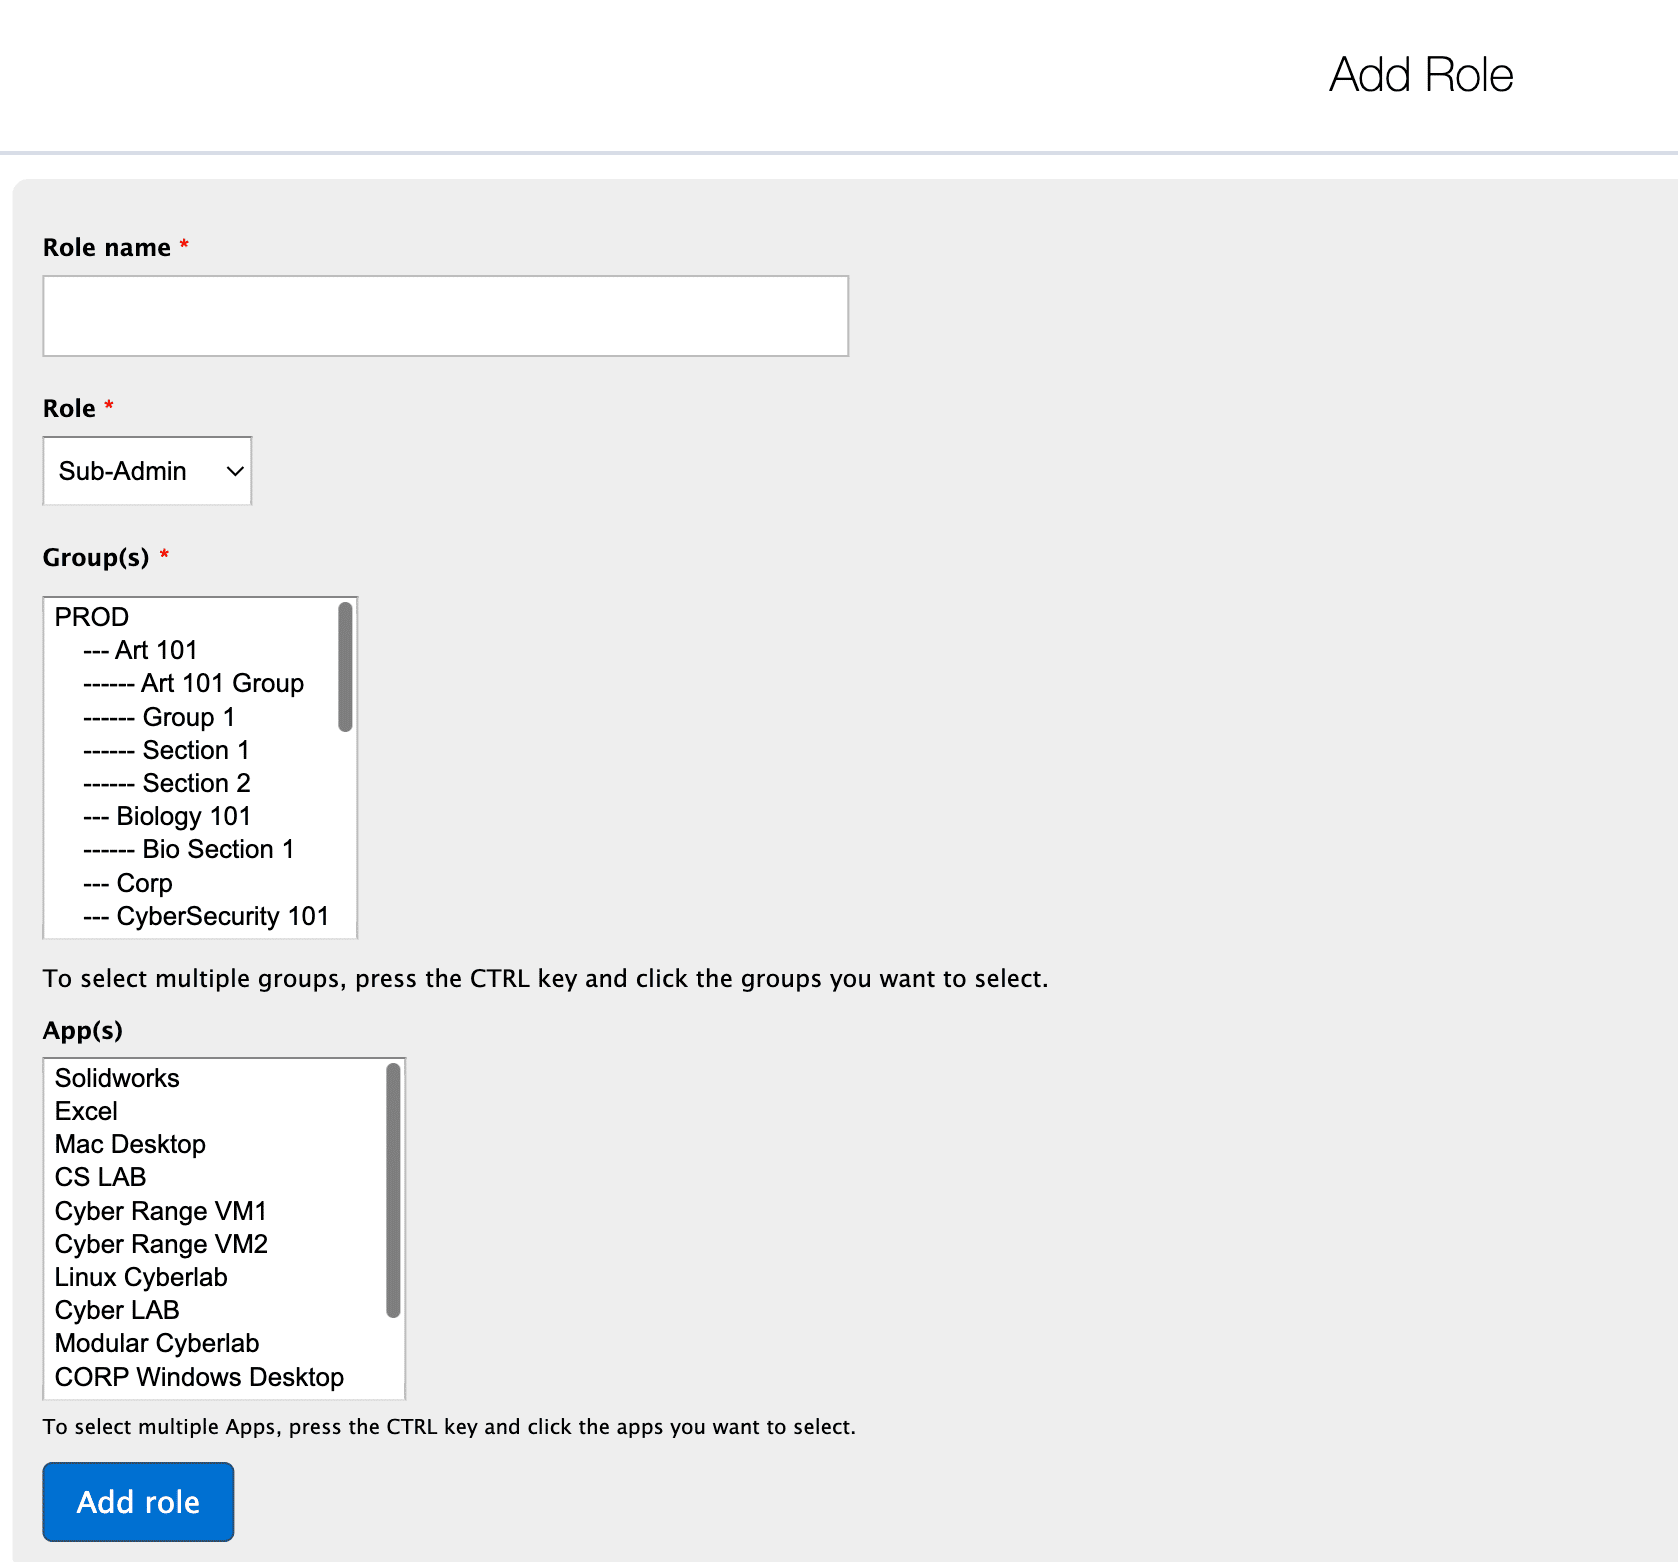
Enter a Role name (e.g. Biology Faculty).
Select a Role from the menu: Sub-admin, Faculty, or Tech Support.
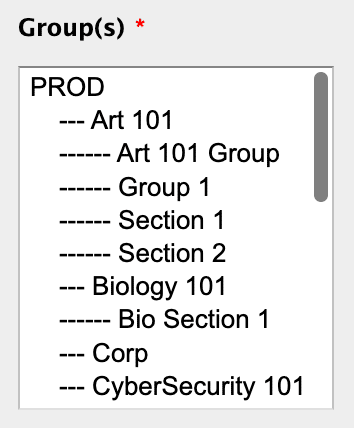
Select the Group(s) the role will have permissions to.
-
To assign the role to a single group, click the desired Group.
-
To assign the role to multiple groups, press and hold the Ctrl key (Windows OS) or Cmd key (Mac OS), then click each desired group.
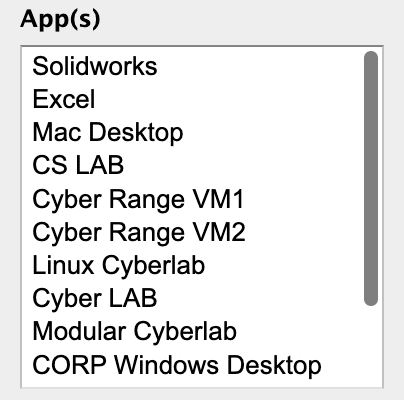
Select the App(s) the role will have permissions to. The user assigned this role will be able to publish selected apps to the groups they have permissions to.
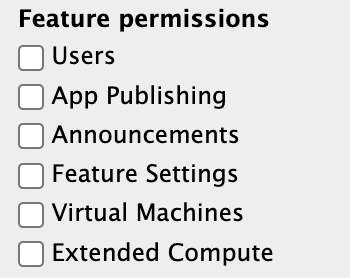
Select any optional Feature(s). For example, Faculty roles have optional access to the following screens.
Click Add role
A confirmation message will display at the top of the screen when the role has been successfully created.
Add/Edit Storage Quota
By default, all users are assigned 10GB of storage. If a particular role requires more or less storage, you may customize this.
Click the Roles ![]() icon in the Navigation panel.
icon in the Navigation panel.
The ‘Roles’ screen displays.
Click the STORAGE QUOTA field for the desired role.
Enter or edit the maximum amount of storage allowed (in Gigabytes; 30 maximum) for the role.
Click the cursor outside the STORAGE QUOTA field to complete the update.
A success message shows at the top of the screen.
Assign a Role to a User
Assign Role
Once you’ve defined a custom role you can assign it to the relevant user(s) in the Users screen.
Click the Users ![]() icon in the navigation panel.
icon in the navigation panel.
The ‘Users’ screen displays.
Locate the user you want to edit.
Click the Actions ![]() button for the desired user, then click Edit.
button for the desired user, then click Edit.
The ‘Edit user’ popup displays. Scroll down to Role.
Check the desired Role checkbox.
If the Subadmin, Faculty, or Tech Support check box is selected, a ‘Role Name’ menu displays.
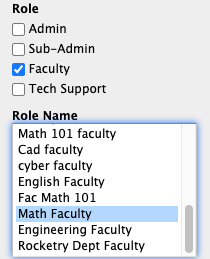
Select the desired Role Name(s).
Click Save
The Users screen refreshes and a success message shows at the top of the screen.