Managing calendar events
From the calendar view, you can create and edit calendar events. For more information on how to access the calendar, see the article on viewing your calendar.
Use the information in this guide to learn how to:
Schedule a new event
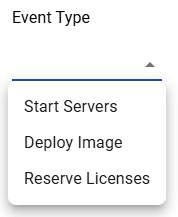
The Apporto calendar allows you to schedule the following types of events:
- Server starts
- Image deployments
- License reservations
The table below shows the values that make up the calendar event.
| Field | Datatype | Required? | Notes |
|---|---|---|---|
| Event name | String | Yes | |
| Event type | Lookup values | Yes |
|
| Server group type | Lookup values | Conditional | These values are dependent on selected event type:
|
| Group | Lookup values | Conditional | These values are dependent on the license reservation event type:
|
| Event values | Lookup values | Conditional | These values are dependent on selected server group type:
|
| Desktop/app | Lookup values | Conditional | These values are dependent on the license reservation event type:
|
| Number of licenses | Integer | Conditional | This value is required for license reservation events |
| Frequency | Lookup values | Yes |
|
| Event/start date | Date | Yes | |
| End date | Date | Conditional | This field is required for all frequency selections except “does not repeat.” |
| Start time | Lookup values | Yes | Time selection from 12:00 AM to 11:45 PM in 15-minute increments
The system defaults to 12:00 AM. |
| End time | Lookup values | Yes | Time selection from 12:15 AM to 12:00 AM (of the next day) in 15-minute increments
The system defaults to 12:15 AM. |
To add a new event, follow the steps below:
- From the Calendar page, click on a date cell on the calendar. You may select today’s date or a future date.
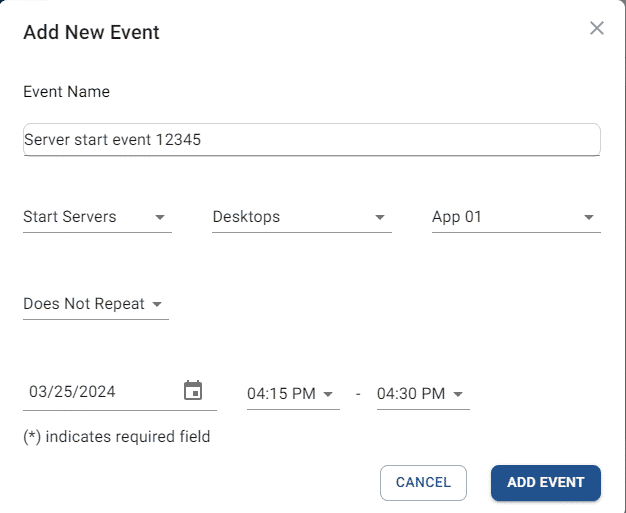
- The system will display the Add new event pop-up.
- Enter the new event’s values (see the table above).
- After selecting an event type, the system will display the “server group type” and “event values” fields
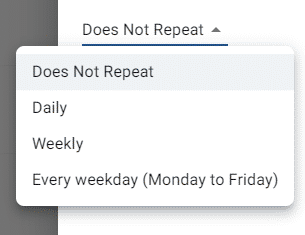
- Selecting a frequency will update the date and time selection options.
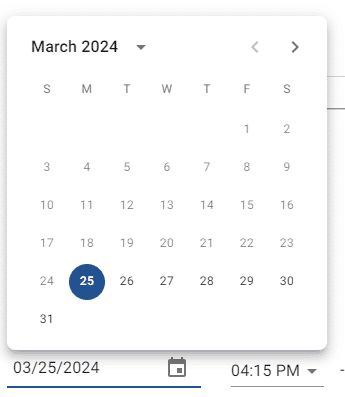
- Select the event date. If the event will repeat, a second date picker will appear to create a start and end date range.
- Select the event start and end times. Both fields will use the same type of time picker shown below.
- After selecting an event type, the system will display the “server group type” and “event values” fields
- After selecting all necessary values, click add event to save the new calendar event.
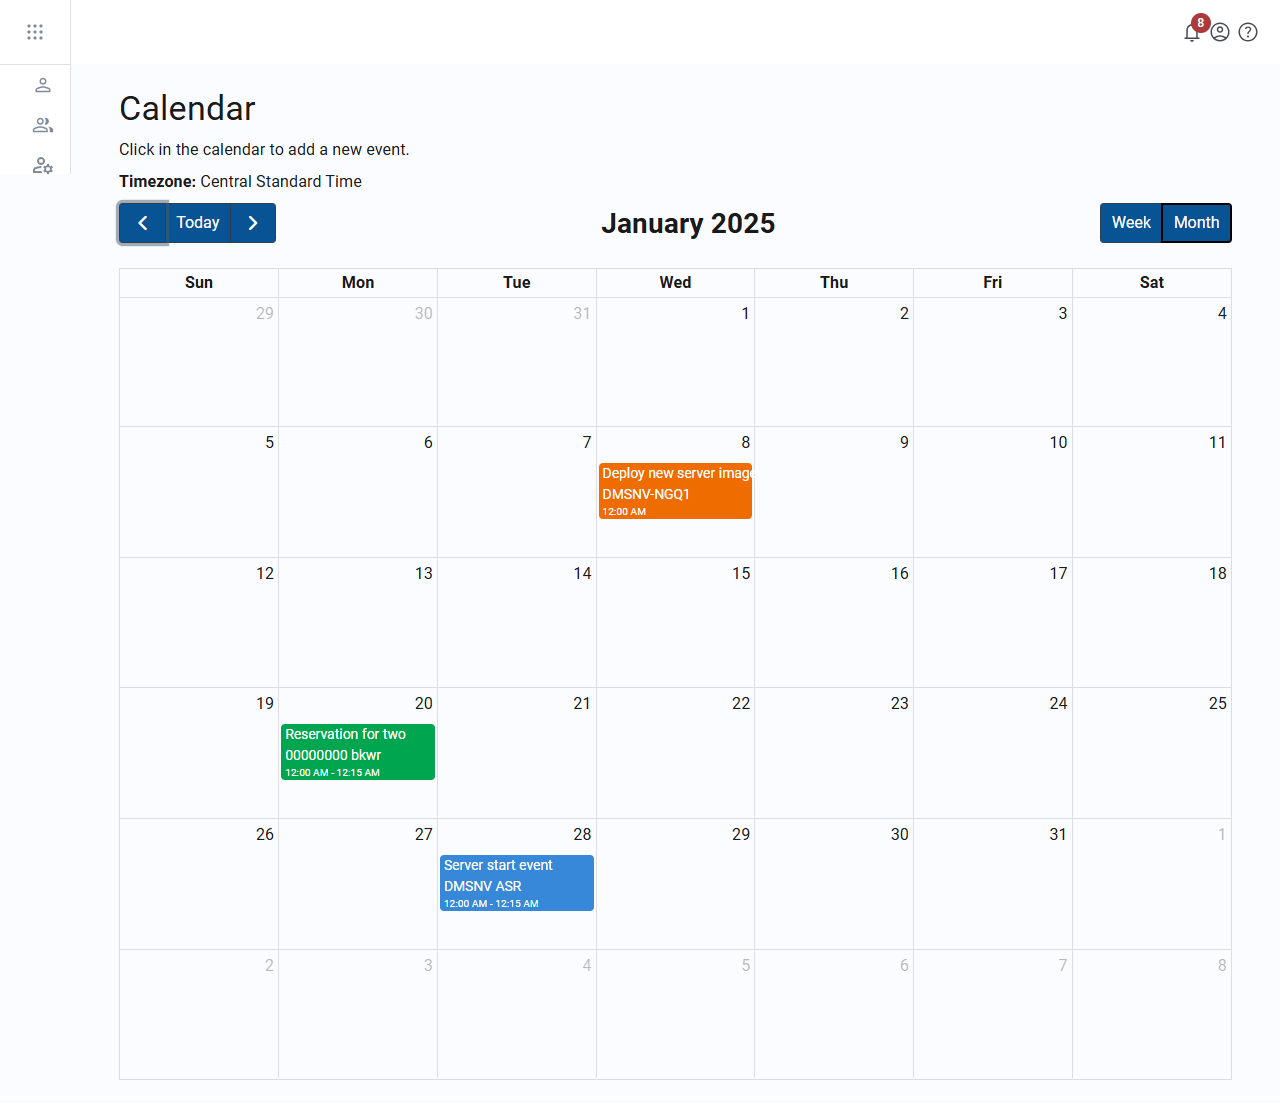
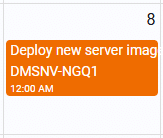
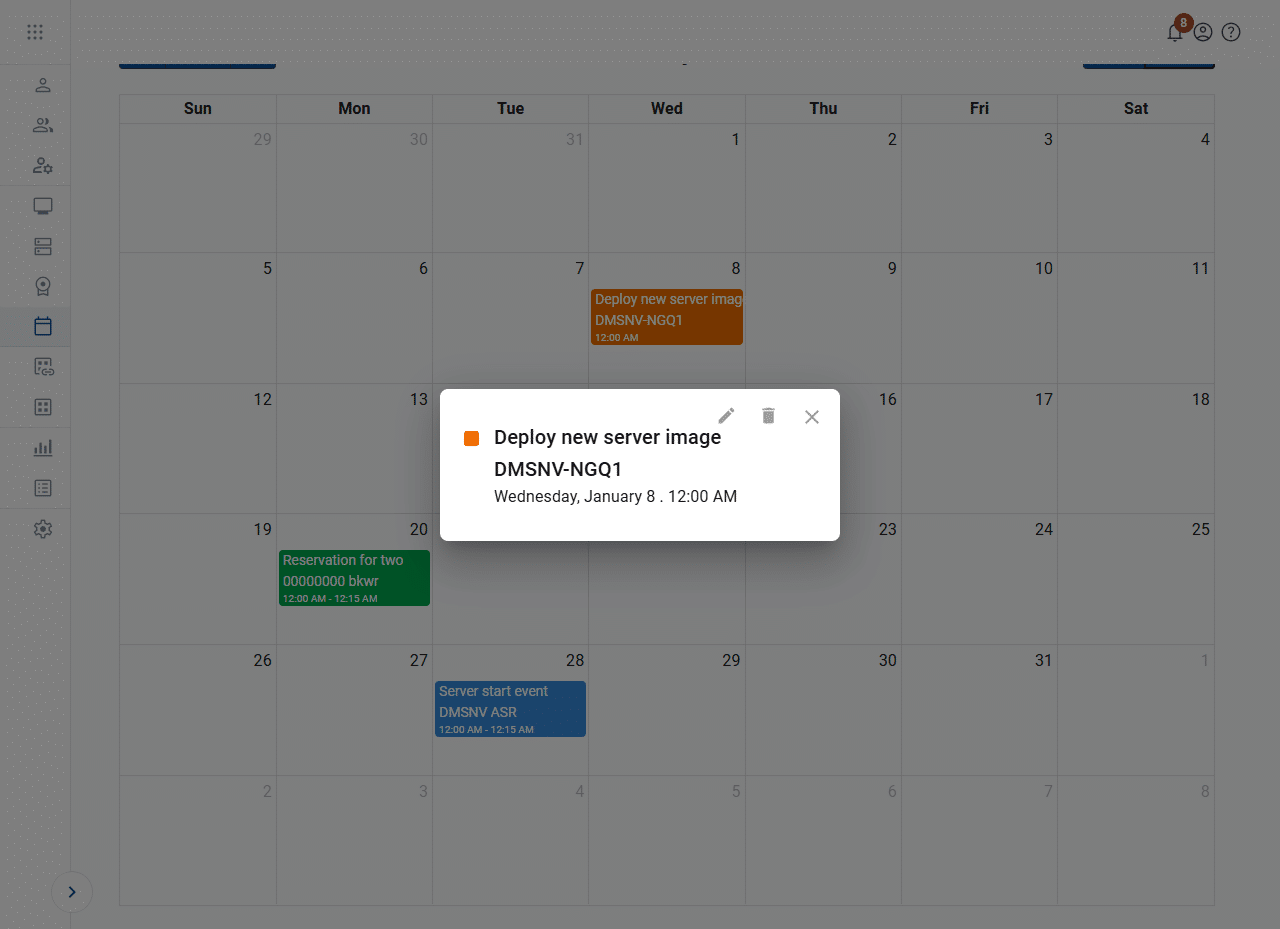
- The new event will now display in the cell of the start date. If the item repeats, it will also show on the recurrence dates. Server starts appear in blue, image deployments appear in orange, and license reservations appear in green.
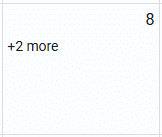
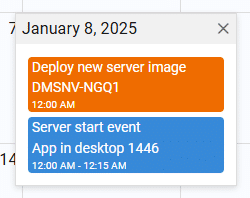
- In month view, if there are multiple events scheduled on the same day, the count of events will show in the date cell. Click on the number of events to see a pop-up of all that day’s events.
Update event details
Events may be updated up until their start date/time. To update an event, follow the steps below.
- Click on an event card.
- The event’s details appear on a pop-up window.
- Update options:
- Edit
- Click on the
icon to edit the event. The Edit event pop-up will display.
- Edit any necessary values, and click update event to save the changes.
- The event card on the calendar will reflect your changes.
- Click on the
- Delete
- Click on the
icon to delete the event.
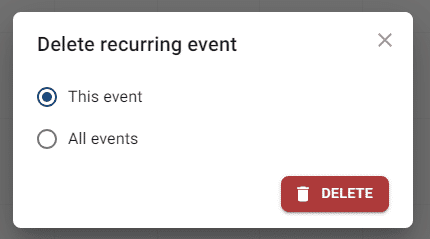
- If it’s a recurring event, the system will prompt you to select a deletion option. Select an option and click delete to remove the event(s).
- This event – This option will delete a single event in the series.
- All events – This option will delete all events in the series.
- The system will display a message to confirm the change.
- Click on the
- Edit


